Setting up Adobe Illustrator for commercial printing requires precise document configurations. A proper setup prevents costly production delays during commercial print production. It also ensures accurate colors, sharp images, and correct trimming during all post-press operations.
The procedure is simple. In the checklist below, we broke it down into document setup, design best practices, and file export. This will streamline your Adobe Illustrator workflow and minimize errors in files being exported for print.
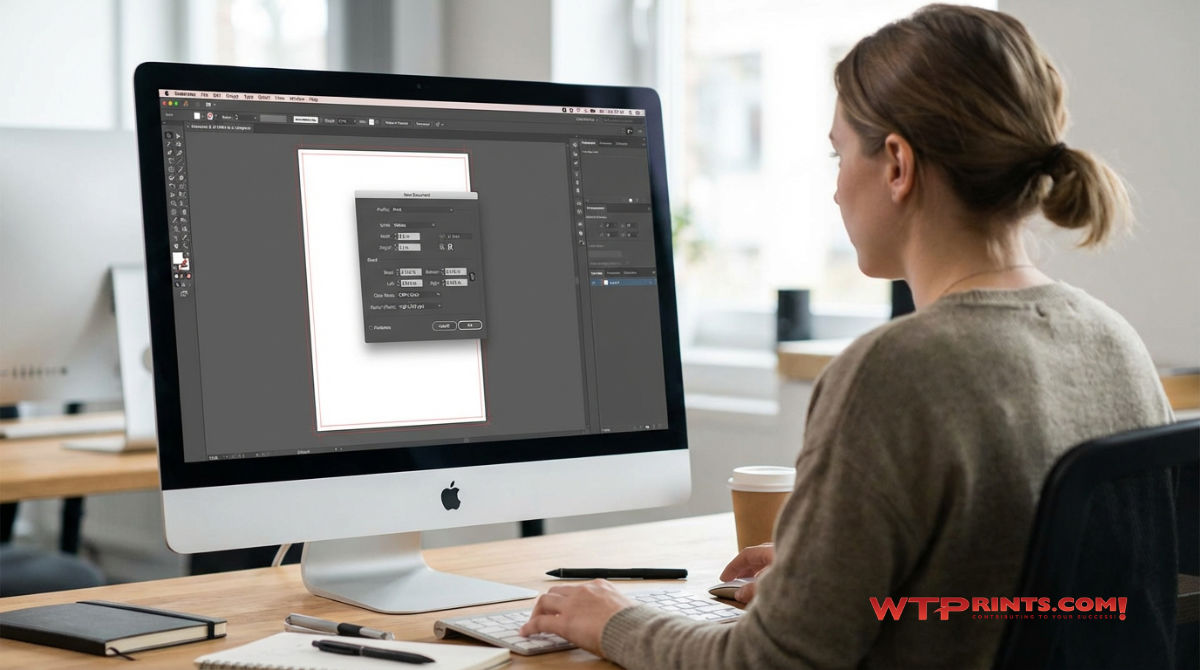
Initial Illustrator Document Setup
❑ Color Mode: Select CMYK Color under "Advanced Options" to match the color mode used by professional printing presses.
❑ Raster Effects: Set to High (300 ppi) to ensure that gradients, shadows, and other pixel-based effects remain crisp. Read more about issues with raster effects in this article.
❑ Artboard Size: Set your artboard to the final trim size (the exact size of the finished product).
❑ Bleed Settings: Enter 0.125 inches (3 mm) on all four sides. This allows background colors and images to extend past the trim line. It prevents white gaps if the paper shifts during cutting.
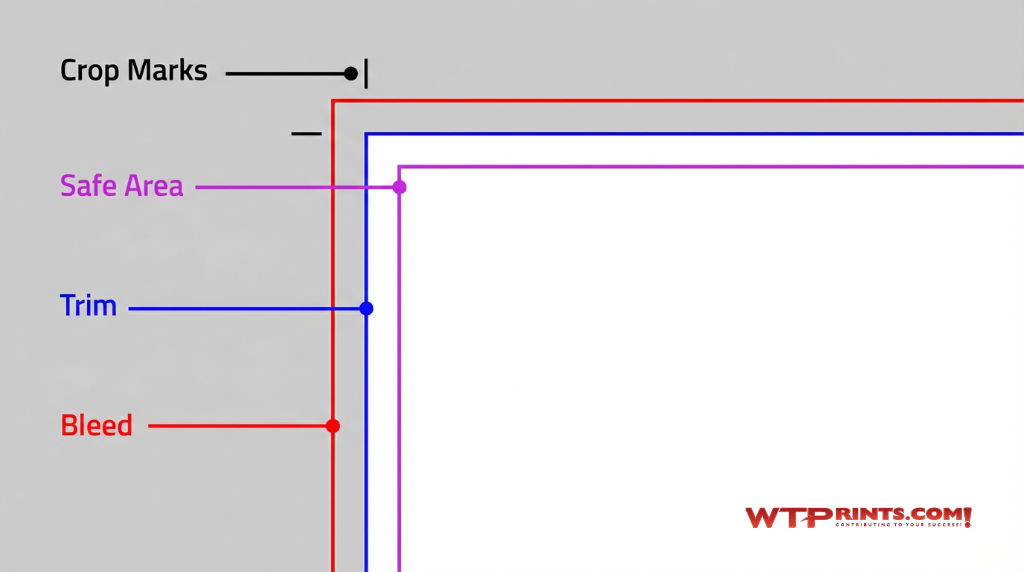
The graphic below shows crop marks, safe area, trim, and bleed.
Design & Content Best Practices
❑ Safety Zone: Keep all critical text and logos at least 0.125 inches (3 mm) inside the trim line to avoid being accidentally cut off. (Safety Zone shown in image above.)
❑ Typography: Before sending the final file, save a copy and convert all text to outlines (Type > Create Outlines). This ensures fonts display correctly even if the printer doesn't have them.
❑ Images: Ensure all linked photographic images are in CMYK mode and have a resolution of at least 300 ppi at their final size.
❑ Black: For Black text, lines, etc. (small elements), use 100% Black (e.g., C=0, M=0, Y=0, K=100)
❑ Rich Black: For large black backgrounds, use a "rich black" (e.g., C=60, M=40, Y=40, K=100) instead of just 100% K for a deeper finish.
Exporting Illustrator Files for the Printer
❑ File Format: Save as an Adobe PDF.
❑ PDF Presets: Use the [PDF/X-1a:2001] or High Quality Print preset, as these are industry standards for commercial printing output.
❑ Marks and Bleeds: In the PDF export window, navigate to "Marks and Bleeds" and check "Use Document Bleed Settings".
❑ Compression: Ensure that "Downsampling" is not set below 300 ppi to maintain image quality.
These simple steps will make for a smooth, trouble-free print production workflow when you're designing in Illustrator.
If you have questions or issues, please reach out to our experienced team for help.
Email estimates@wtprints.com or call 559-251-8595.