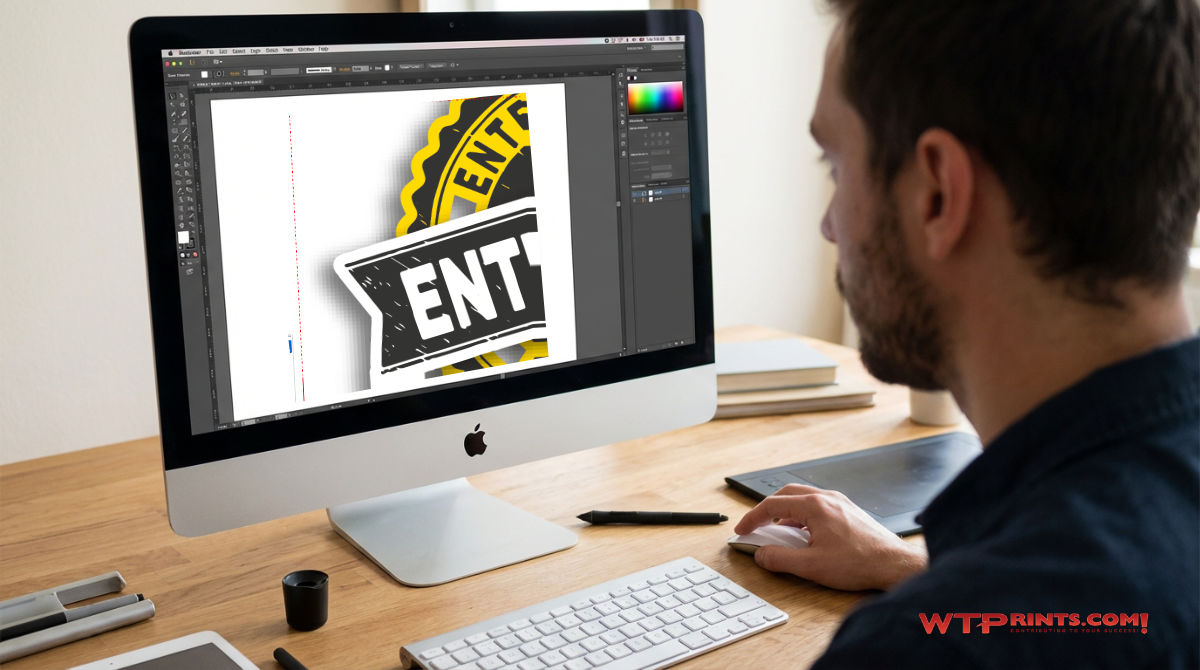
Shadow, blur, and glow are raster effects frequently used in print files designed in Adobe Illustrator. Yet there’s a somewhat obscure default setting in Illustrator that can cause a resolution issue when exporting for commercial print. In our experience, more than 80% of the files we receive that contain Illustrator shadow effects have the effect set at 72 dpi (dots per inch) instead of 300 dpi. It’s easy to miss that setting, but the fix is simple. Plus, we include a way to change the default setting so that all future files will be exported correctly.
To set Adobe Illustrator to generate raster effects like drop shadows at 300 dpi for commercial print design, follow these instructions below. (For the sake of accuracy, DPI refers to printer dots and PPI refers to pixels in an Illustrator file.)
Change Raster Effects Settings
1. Open your document in Adobe Illustrator.
2. Go to the top menu and click Effect > Document Raster Effect Settings.
3. In the dialog box that appears, you will see options for Resolution.
4. Select High (300 ppi) from the dropdown menu. You can also select "Other" and type in a specific value (e.g., 355 ppi, which some high-end publications use).
5. Ensure the Color Model is set to CMYK if your document is for standard commercial printing.
6. Click OK to apply the change to your document.
This ensures that all vector effects that use rasterization (such as drop shadows, blurs, and glows) are generated at high resolution for printing, preventing pixelation. The 72 ppi default is intended to keep the file size small and speed up performance while designing and viewing on the screen or web.
This related article on Setting Up Adobe Illustrator for Commercial Printing gives a more complete overview of file best practices.
Set New Illustrator Document Defaults
To avoid the issue in future print projects, you can set the default raster effects resolution when creating a new file.
1. Go to File > New (or press Ctrl+N/Cmd+N).
2. In the New Document dialog box, go to the Advanced section (if it's not already expanded).
3. Under the Raster Effects setting, choose High (300 ppi) and CMYK color mode.
4. Create your document.
Final Output of the Illustrator File
When you are ready to send your file to print, save it as a PDF with Illustrator editing capabilities or use the recommended print settings. The recommended industry standards for commercial printing output are the [PDF/X-1a:2001] or High Quality Print presets. When exporting to a raster format like JPEG or TIFF, the export dialogue box will provide an additional opportunity to confirm or change the final output resolution to 300 ppi.